F5 Firewall Solutions > [Archive1] AFM - The Data Center Firewall > Lab 1 – Advanced Firewall Manager (AFM) > Creating AFM Network Firewall Rules Source | Edit on
Create a Policy with a Rule List
Policies are a way to group a set of individual rules together and apply them to the active policy base as a group. A typical use of a policy list would be for a set of rule lists that have common requirements for access protocols and ports.
Create a policy list to allow the traffic you created in the rule list in the previous section. A logical container must be created before the individual rules can be added. First you need to create a container for the policy by going to:
Security > Network Firewall > Policies and select Create.
You’ll notice that before Milton detached from Initech, he created a global policy named ‘Global’ to allow basic connectivity to make troubleshooting easier.
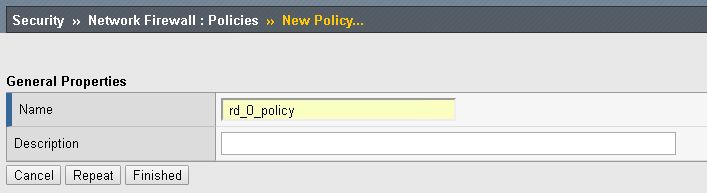
For the Name enter rd_0_policy, provide an optional description and then click Finished. (Note: We commonly use “RD” in our rules to help reference the “Route Domain”, default is 0)
Edit the rd_0_policy by selecting it in the Policy Lists table, then click the Add Rule List button. Here you will add the rule list you created in the previous section. For the Name, start typing web_rule_list, you will notice the name will auto complete, select the rule list /Common/web_rule_list, provide an optional description and then click Done Editing.

When finished your policy should look like the screen shot below.
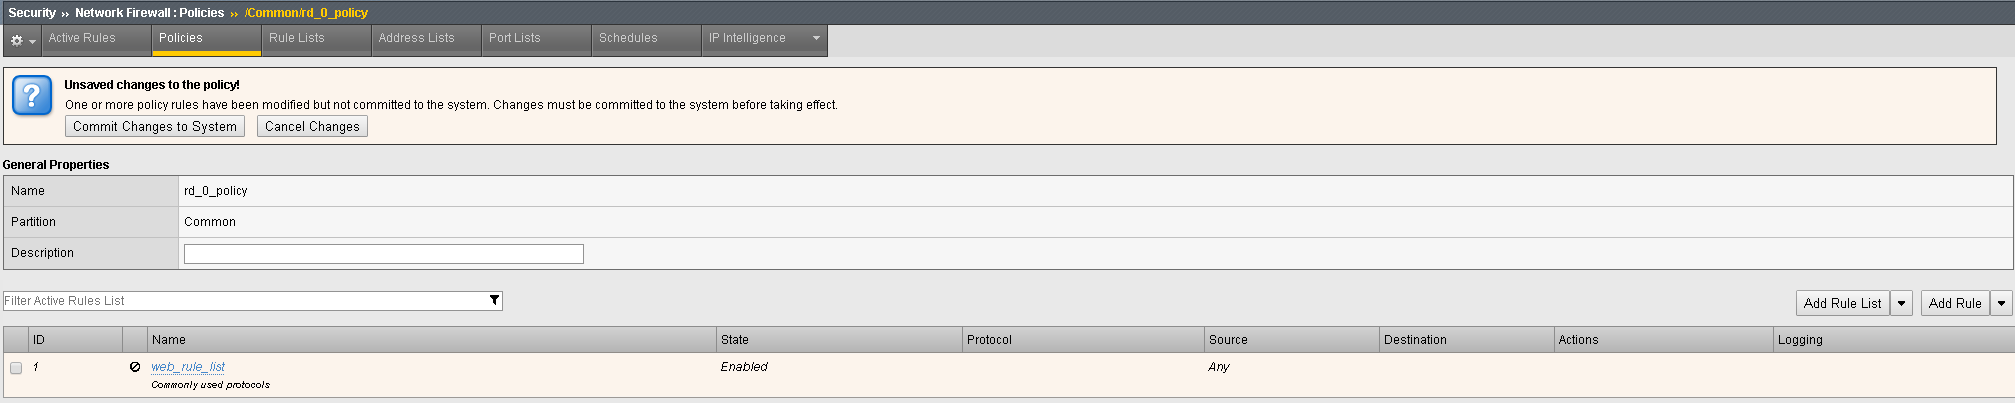
You will notice the changes are unsaved and need to be committed to the system. This is a nice feature to have enabled to verify you want to commit the changes you’ve just made without a change automatically being implemented.
To commit the change, simply click “Commit Changes to System” located at the top of the screen.

Once committed you’ll notice the rule now becomes active and the previous commit warning is removed.
