F5 Firewall Solutions > Advanced Multi-Layer Firewall Protection > Module 1: F5 Multi-layer Firewall Source | Edit on
Lab 4: Configure A Firewall Policy and Firewall Rules For Each Application
A network firewall policy is a collection of network firewall rules that can be applied to a virtual server. In our lab, we will create two policies, each of which includes two rules. This policy will then be applied to the appropriate virtual servers and tested.
Create The geo_restrict Firewall Rule List and Firewall Policy
This example provides a firewall policy to the www.site1.com portion of the application. A real world example of this would be with companies hosting cryptographic software which is subject to export restrictions. In this case we will use the Geolocation feature to block access from a couple countries only and only on the site1.com application.
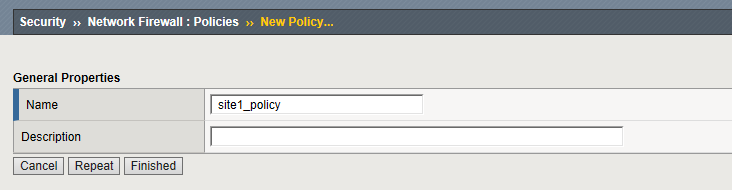
Navigation: Security > Network Firewall > Policies, then click Create
| Name | site1_policy |
Note
Leave all other fields using the default values.
Navigation: Click Finished
Create a geo_restrict_rule_list Firewall Rule List
Note: we could have created a rule directly in the policy. Using Rule lists allows us to re-use this in multiple policies
Navigation: Security > Network Firewall > Rule Lists then click Create
| Name | geo_restrict_rule_list |
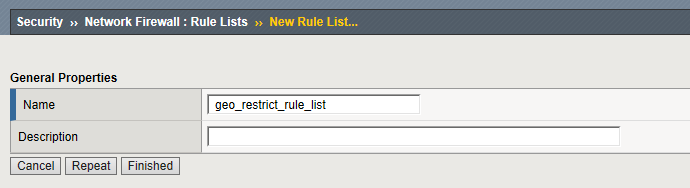
Navigation: Click Finished
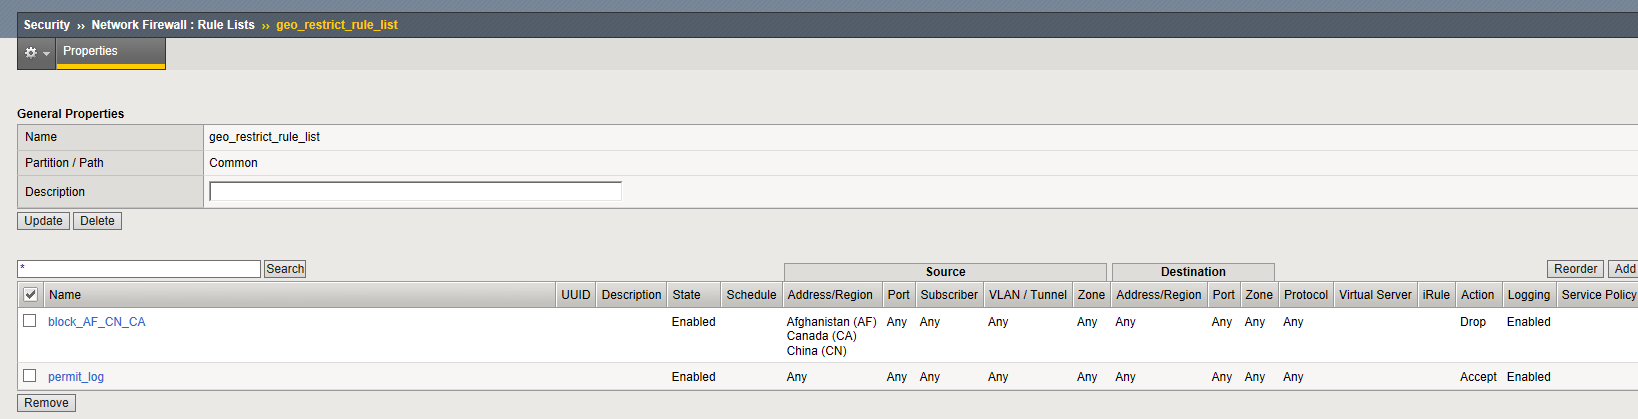
Navigation: Click the geo_restrict_rule_list you just created
Navigation: Click Add
| Name | block_AF_CN_CA |
|---|---|
| Order | First |
| Protocol | Any |
| Source | Country/Region: AF,CN,CA |
| Action | Drop |
| Logging | Enabled |
Note
Leave all other fields using the default values.
Navigation: Click repeat
Note: The values will auto populate with prior values. Correct as needed
Navigation: Click Add
| Name | permit_log |
|---|---|
| Order | Last |
| Action | Accept |
| Logging | Enabled |
| Source | Any |
Create Permit Log Network Firewall Rule.
Note
Leave all other fields using the default values.
Navigation: Click Finished
Assign the geo_restrict_rule_list to the site1_policy
Navigation: Security > Network Firewall > Policies
Navigation: Click on site1_policy then click Add Rule List
In the name field start typing geo in the rule listfield. Select geo_restrict_rule_list
Navigation: Click Done Editing
Navigation: Click Commit Changes to System
Note
We want to validate the site is available before and after applying the Network Firewall Policy
From client machine try to connect again to the application site.
URL: https://site1.com
We will use Cywin Terminal for more controlled testing in
curl -k https://10.1.10.30/ -H 'Host: site1.com'

Note
We want to validate the site is available before and after applying the Network Firewall Policy
Assign The Policy To The Virtual Server
A unique feature of the BIG-IP Firewall Module allows L3-4 security policies to be assigned specifically to an application i.e. Virtual Server. So each application can have its own firewall policy separate from other application virtual servers.
Apply the Network Firewall Policy to Virtual Server
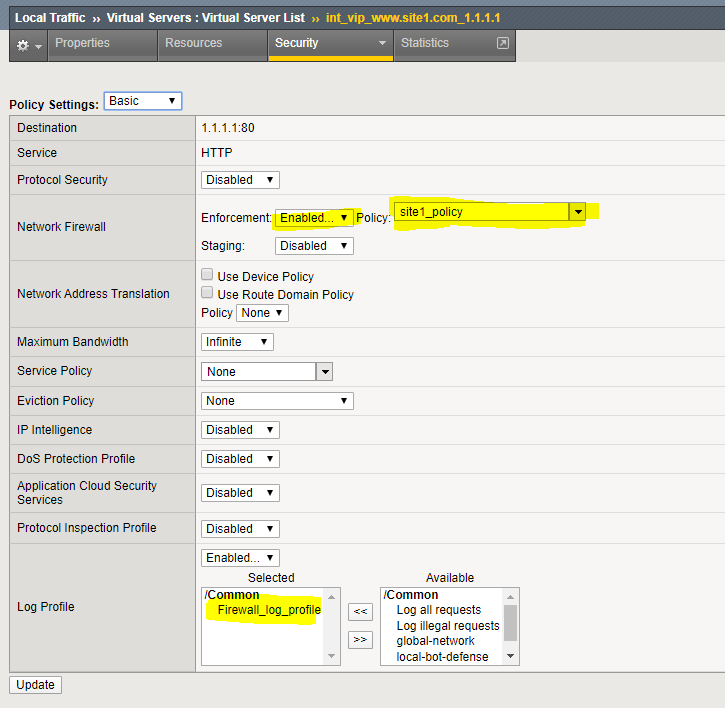
Navigation: Local Traffic > Virtual Servers then click int_vip_www.site1.com_1.1.1.1
Navigation: Click on the Security Tab and select Policies
Edit the Network Firewall section of the screen
| Virtual Server | int_vip_www.site1.com_1.1.1.1 |
|---|---|
| Enforcement | Enabled |
| Policy | site1_policy |
| Log Profile | enabled |
| Log Profile | firewall_log_profile |
Note
Leave all other fields using the default values.
Navigation: Click Update
From client machine validate the behavior of the Policy and the associated Rule List
Many enterprise sites have some or all of their content served up by Content Delivery Networks (CDN). This common use case leverages proxies to provide static content closer to the end client machines for performance. Because of this there may only be one or two IP addresses connecting to the origin website. The original IP address of the client in this case is often mapped to a common HTTP header X-Forwarded-For or some variation. In this deployment, the BIG-IP can translate the original source of the request in the XFF to the source IP address.
Use Cywin Terminal to allow us to specify the X-Forwarded-For header. . There is an iRule applied to EXT_VIP_10_1_10_30 which SNAT’s the source IP to match the X-Forwarded-For header
XFF-SNAT iRule
when HTTP_REQUEST {
   if { [HTTP::header exists "X-Forwarded-For"] } {
      snat [HTTP::header X-Forwarded-For]
      log local0. [HTTP::header X-Forwarded-For]
   }
}
curl -k https://10.1.10.30/ -H 'Host: site1.com'
Note
Since we did not define the header, the firewall will see the RFC-1918 address of the jimp host (10.1.10.199)
URL: https://site1.com
Use the -H option in curl to define the X-Forwarded-For Header. This will trigger the iRule addigned to the External VIP to simulate specific IP addresses in the header
curl -k https://10.1.10.30/ -H 'Host:site1.com' -H 'X-Forwarded-For: 172.16.99.5'
Review the logs. each connection will log events from the external and internal virtual server
Navigation: Security > Event Logs > Network > Firewall
Next we will simulate a connection an IP address in Bejing, China
The BIG-IP Geolocation database is supplied by Digital Element
URL: http://www.digitalelement.com/
URL: https://whatismyipaddress.com/ip/1.202.2.1 shows that this address is in Beijing , China
Note
You can check the geo classification of an address from the BIG-IP CLI using the command geoip_lookup 1.202.2.1
curl -k https://10.1.10.30/ -H 'Host: site1.com' -H 'X-Forwarded-For: 1.202.2.1'
This connection attempt will fail. Return to the BIG-IP GUI and refresh the firewall event log.
Note
you may need to zoom the browser to see the “Action” collumn at the right sie of the screen

Create A Separate Policy For The site2 Virtual Server
Now we want to create a second policy to restrict access to site2
Create Network Firewall Policy
Navigation: Security > Network Firewall > Policies
Navigation click Create
| Name | site2_policy |
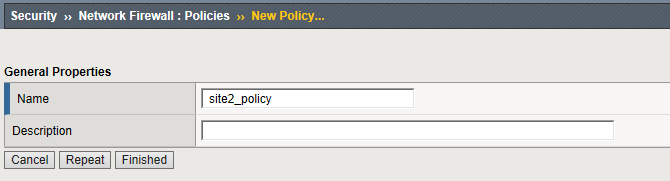
Note
Leave all other fields using the default values.
Navigation: Click Finished
Modify the policy with rules to Allow TCP Port 80 From Host 172.16.99.5 Network Firewall Rule and deny all other adresses . This time we will build the rules directly into the policy instead of using a Rule List
Navigation: Click on the site2_policy you just created
Navigation: Click Add Rule pull down on the upper right - Add rule at beginning
| Name | allow_site_172.16.99.5 |
|---|---|
| Protocol | TCP (6) |
| Source | Address: 172.16.99.5 |
| Action | Accept |
| Logging | Enabled (checked) |
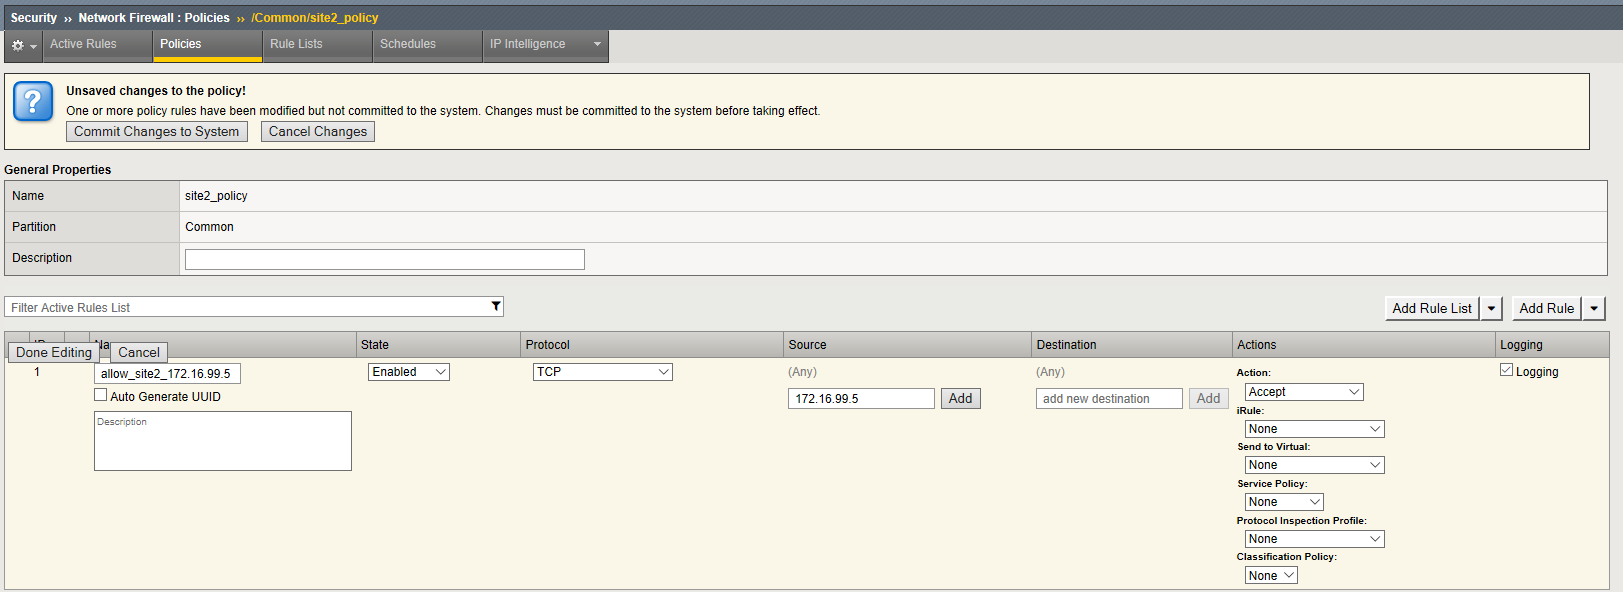
Note
Leave all other fields using the default values.
Navigation: Click Done Editing
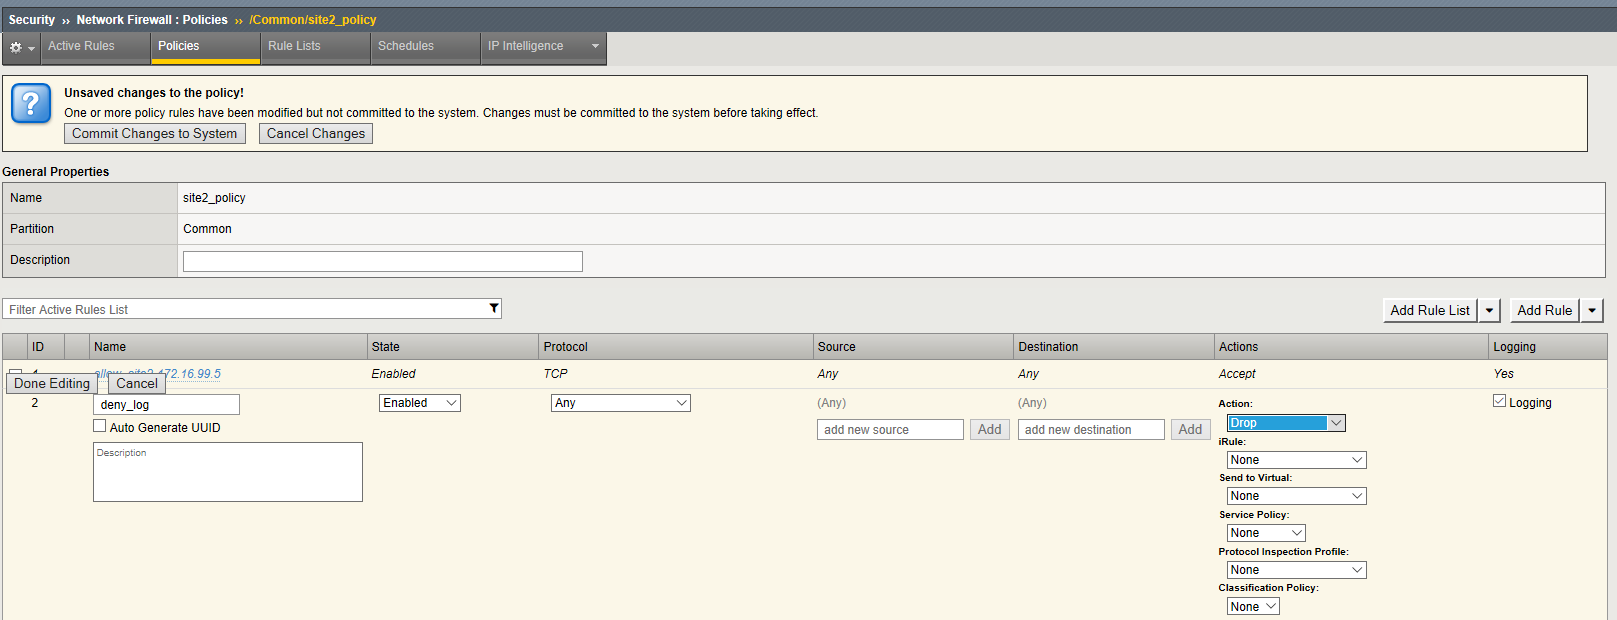
Create Deny Log Network Firewall Rule
Navigation: Click Add Rule pull down on the upper right - Add rule at end
Note
As we are deployed in “ADC Mode” where the default action on a virtual server is ‘Accept’, we must also create a default deny rule.
For further discussion of Firewall vs ADC modes, please consult the F5 BIG-IP documentation.
| Name | deny_log |
|---|---|
| Action | Drop |
| Logging | Enabled (checked) |
Note
Leave all other fields using the default values.
Navigation: Click Done Editing
Navigation Click Commit Changes To System
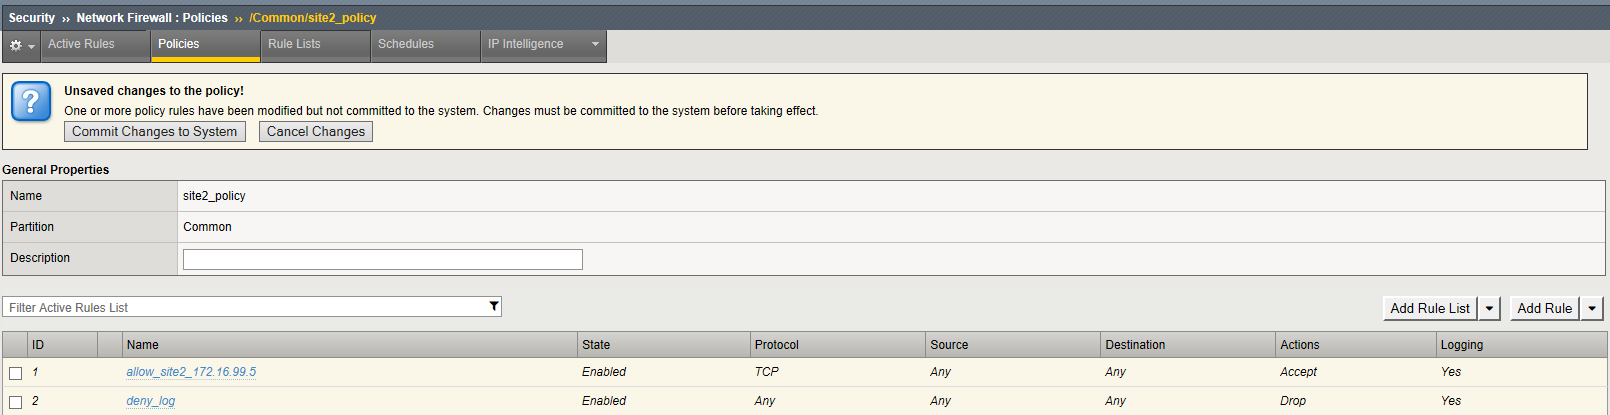
Navigation: Click Finished
Apply the Network Firewall Policy to Virtual Server
Navigation: Local Traffic > Virtual Servers
Navigation: Click on int_vip_www.site2.com_2.2.2.2
Navigation: Select the Security Tab and select Policies
| Virtual Server | int_vip_www.site2.com_2.2.2.2 |
|---|---|
| Network Firewall | Enabled |
| Policy | site2_policy |
| Log Profile | enabled |
| Log Profile | firewall_log_profile |
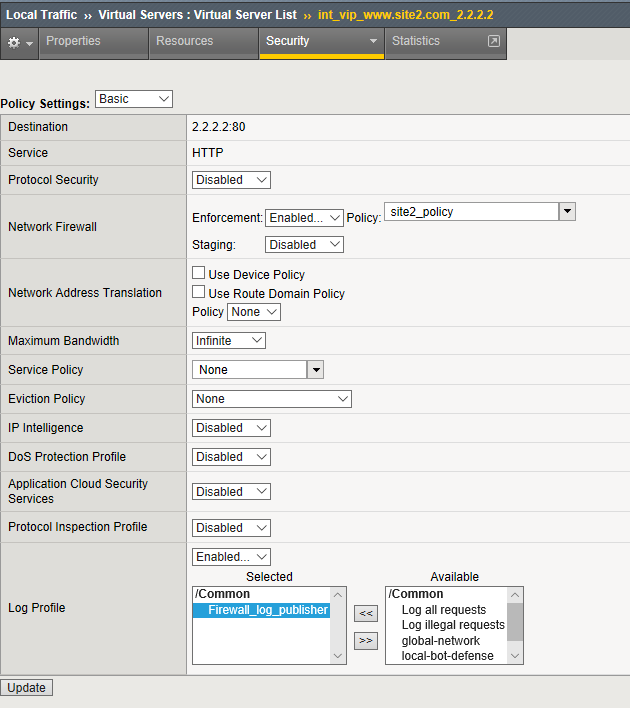
Note
Leave all other fields using the default values.
Navigation: Click Update
From client machine
From client machine validate the behavior of the Policy and the associated Rule List
We will use Cywin Terminal to allow us to specify the source IP address. This is done by leveraging an iRule which SNAT’s the source IP to match the X-Forwarded-For header. This iRule is applied to EXT_VIP_10_1_10_30
curl -k https://10.1.10.30/ -H 'Host:site2.com' -H 'X-Forwarded-For: 172.16.99.5'
curl -k https://10.1.10.30/ -H 'Host:site2.com' -H 'X-Forwarded-For: 172.16.99.7'
Note
This is expected to fail
Note
This concludes Module 1 - Lab 4